

Key Takeaways
Our Verdict
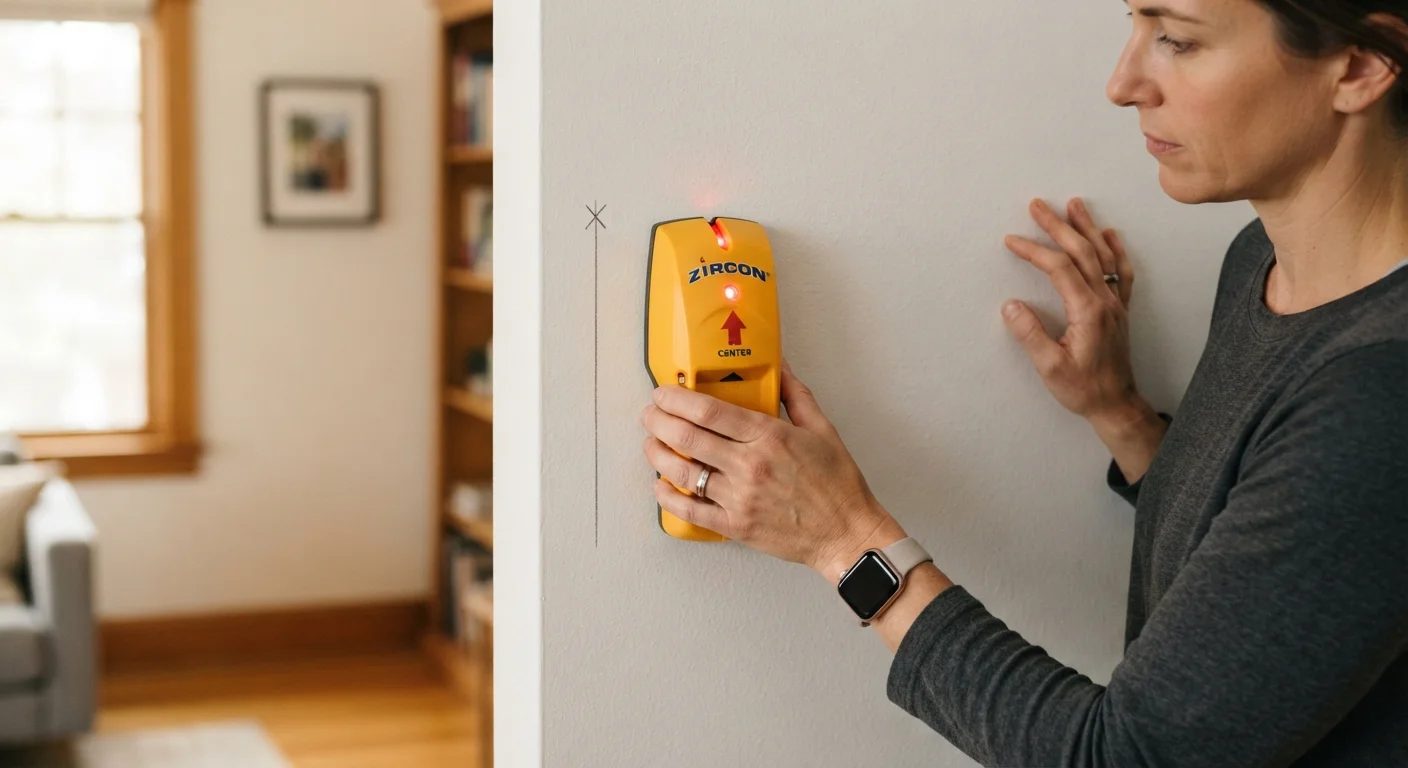
No single stud-finding method is foolproof, but each has a clear use case. Electronic stud finders handle most everyday situations well, while magnets offer surprising accuracy as a low-cost backup. Knocking is always available but demands the most patience from a beginner.
| Best for | Recommended |
|---|---|
| Beginners hanging shelves or a TV mount | Electronic stud finder |
| Those who want a tool-free, zero-cost approach | Knocking method |
| Anyone needing to verify a suspected stud location quickly | Rare-earth magnet |
| High-stakes installs where accuracy is critical | Combine two methods |
Why Locating Studs Actually Matters
Drywall alone cannot reliably support a loaded shelf, a heavy mirror, or a wall-mounted television. Drywall is essentially a gypsum core sandwiched between paper - strong enough to hold a lightweight picture hook, but prone to pulling through when weight increases. A stud, by contrast, is a vertical timber (or sometimes metal) framing member that runs from floor to ceiling inside your wall. Screwing directly into a stud gives you a solid connection to the home's structural skeleton.
Drilling in the wrong spot has two common consequences: the fastener fails and your item crashes down, or you accidentally pierce a pipe or electrical cable hidden in the cavity. Taking a few minutes to locate studs accurately is one of the simplest ways to protect both your belongings and your walls. If you do end up with an unwanted hole, our guide to patching drywall walks you through fixing it yourself.
Understanding Stud Spacing Before You Start
In the vast majority of US homes built since the mid-20th century, wall studs are placed either 16 inches or 24 inches apart, measured from the center of one stud to the center of the next. Exterior walls almost always use 16-inch spacing; some interior partition walls use 24 inches to save material. Once you've confirmed the location of a single stud, you can measure across the wall in these increments to predict where the next one sits - then verify before drilling.
Corner areas and door or window frames also typically have doubled-up studs (called trimmers and kings), so if you find a stud unusually close to another, you're likely near an opening.
16"
Standard stud spacing in most US homes
The International Residential Code references 16-inch on-center framing as the typical standard for load-bearing walls.
24"
Alternative spacing in some partition walls
Some interior non-load-bearing walls use 24-inch spacing, which is still code-compliant in many jurisdictions.
1.5"
Typical stud width (face you're drilling into)
Standard dimensional lumber sold as 2×4 measures 1.5 inches wide, giving you a relatively small target to hit accurately.
Comparing the Three Main Methods
Each approach trades off cost, accuracy, and effort. Understanding the strengths and weaknesses of each helps you choose the right starting point - or decide to combine methods for greater confidence.
| Electronic Stud Finder | Knocking | Rare-Earth Magnet | |
|---|---|---|---|
| Cost | Low to moderate | Free | Very low |
| Accuracy | High when used correctly | Moderate, skill-dependent | High at screw locations |
| Learning curve | Moderate | Low to moderate | Very low |
| Works on all wall types | Mostly - struggles near tile | Yes | Drywall-covered walls only |
| Speed | Fast once calibrated | Slow and methodical | Fast once you have a magnet |
| Risk of false readings | Moderate (pipes, conduit) | Moderate (hollow-core doors) | Low if screws are present |
Once you've drilled your holes into solid studs, you'll want to pair them with the right fastener for your wall type. Our guide to wall anchors and toggle bolts explains when studs alone aren't enough. And for choosing the right drill, see our overview of drills vs. drivers.
Step-by-Step: How to Use Each Method
Electronic Stud Finder
- Place the finder flat against the wall and hold the calibration button until it signals ready (usually a beep or light). Calibrate away from any suspected stud.
- Slide the finder slowly - about one inch per second - horizontally across the wall. Moving too fast causes misreads.
- When the finder signals a stud edge, mark it lightly with a pencil. Continue sliding until it signals the other edge, then mark again. The stud center sits between those two marks.
- Verify: move back a foot and rescan. Consistent readings at the same location confirm a real stud.
Knocking
- Make a loose fist and rap your knuckles firmly across the wall at roughly 2-inch intervals, moving horizontally.
- Over an empty cavity, the wall produces a low, hollow thud. Over a stud, the sound becomes noticeably higher-pitched and flatter - a solid thunk.
- Mark the suspected location and knock in a vertical line to confirm the sound change is consistent up and down (studs are vertical).
Rare-Earth Magnet
- Slide a strong magnet (a small neodymium magnet works well) slowly along the wall surface at about drywall-screw height - typically 12-16 inches from the floor.
- When the magnet catches slightly or clings to the wall, it has detected a steel drywall screw, which is driven into a stud during construction.
- Mark that point - it sits directly on or within about half an inch of stud center.
Use Two Methods Together
For high-stakes installs - a TV mount, a floating shelf holding books - don't rely on a single technique. Use an electronic finder to get close, then drag a magnet along the same line to pinpoint a screw head. When both methods agree, you can drill with real confidence. This two-step approach takes less than two extra minutes and drastically cuts the chance of an off-center hole.
Common Mistakes and How to Avoid Them
Even with a tool in hand, a few habits trip up first-timers consistently:
- Calibrating over a stud: If you start your electronic finder directly over a stud, its baseline reading will be off and it will signal false negatives. Always calibrate on a section of wall that sounds hollow when knocked.
- Trusting a single pass: Always scan or knock an area at least twice. Pipes, conduit, or dense joint compound can mimic a stud on a single pass.
- Forgetting to verify vertically: A stud is a continuous vertical member. If your mark only shows a solid sound or magnet catch in one horizontal band, it may be a pipe, blocking, or a nail plate rather than a full stud.
- Drilling before a final check: Drive a thin finishing nail at your marked center point first. If it hits solid resistance after penetrating the drywall, you're in the stud. If it goes in easily and wiggles, adjust an inch or two left or right.