

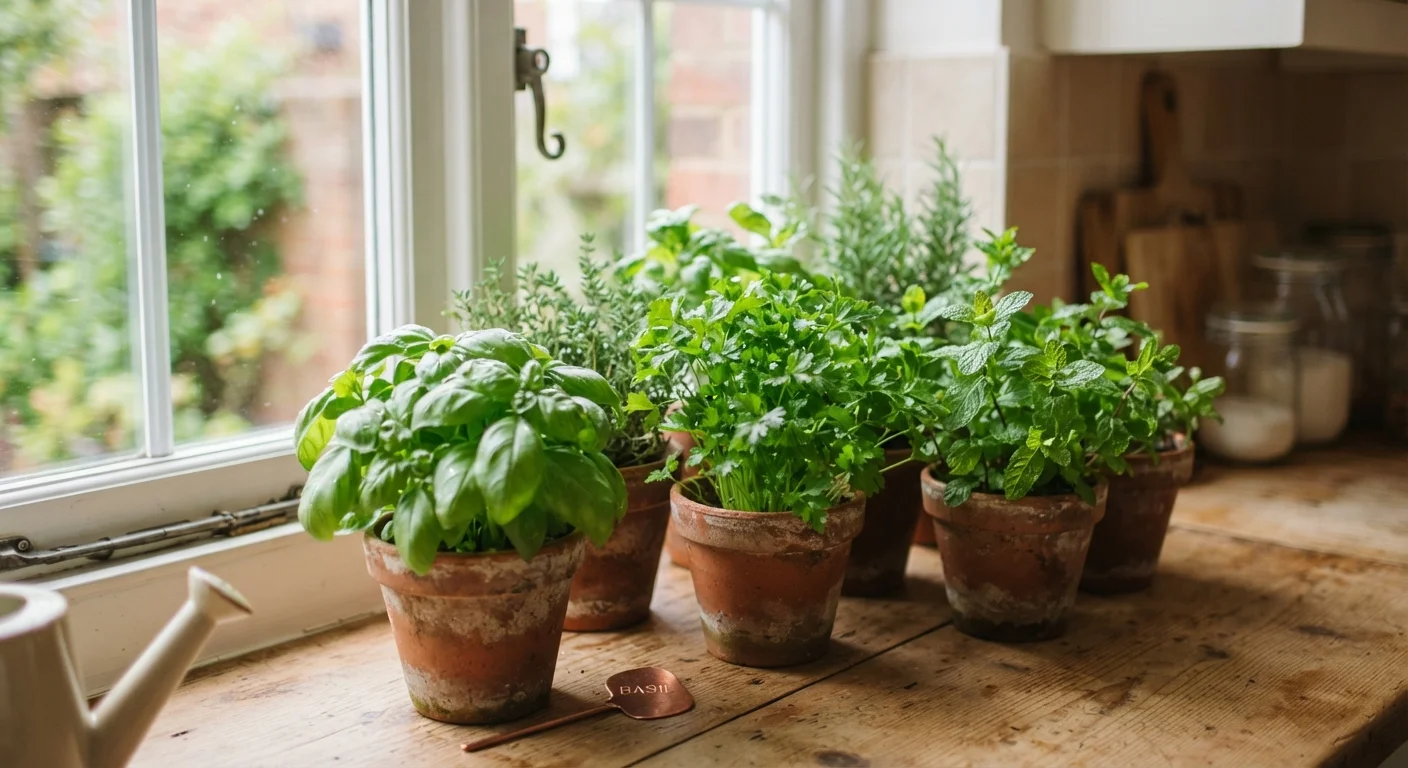
Key Takeaways
Why a Windowsill Herb Garden Is a Great First Project
A windowsill herb garden is one of the most rewarding introductions to growing plants indoors. The scale is small enough to stay manageable, the feedback loop is fast (most herbs grow visibly within days), and the payoff - fresh herbs at arm's reach while cooking - is immediate and practical. Unlike outdoor gardening, you control the environment: no slugs, no unpredictable weather, no large soil investment.
If you're curious about how this fits into a broader growing journey, our beginner's guide to starting a garden covers everything from soil to light assessment for those thinking beyond the windowsill. And if you're interested in scaling up without a yard, container gardening in pots and small spaces explores larger setups that use the same core principles.
What you will need
What You'll Need Before You Start
The startup investment for a windowsill herb garden is modest. A few small pots, a bag of potting mix, and some seeds or starter plants are genuinely all that's required. If you want a broader picture of what gardening typically costs as you expand, what beginner gardeners actually spend offers an honest breakdown. For now, keep it simple: spend on drainage and good soil before anything decorative.
4-6 inch pots with drainage holes
Provides the right root space for individual herbs while allowing excess water to escape.
Quality container potting mix
Offers the light, well-draining structure herbs need - garden soil compacts too much in pots.
Herb seeds or seedlings
The starting point for your garden; seedlings give faster results, seeds offer more variety.
Drainage saucer or tray
Catches water runoff and protects your windowsill from moisture damage.
Small watering can with a narrow spout
Lets you water at the base of plants without splashing foliage, reducing disease risk.
Liquid fertilizer (half-strength)
Replenishes nutrients that regular watering flushes from container soil over time.
Step-by-Step: Setting Up Your Windowsill Herb Garden
Follow these steps in order the first time through. Once you've done it once, the process becomes intuitive and takes under half an hour for a fresh setup.
Choose the right windowsill
Light is everything for herbs. A south- or west-facing window is your best option, as it typically delivers the six or more hours of direct sun that most culinary herbs require. East-facing windows may work for less demanding herbs like parsley, chives, or mint, but basil will struggle without strong afternoon light. Stand at the window on a clear day and observe - if you see a defined patch of sunlight on the sill for most of the morning or afternoon, you're in good shape.
Select your herbs
For a first windowsill garden, stick to a small handful of reliable performers. Basil, parsley, chives, and mint are all forgiving, fast-growing, and genuinely useful in the kitchen. One important note: mint spreads aggressively, so always give it its own container rather than planting it alongside others. If you're working from seeds, expect germination to take 7-21 days depending on the variety. Buying young seedlings from a nursery saves time and gives you a visual head start.
Prepare your containers
Each herb should have its own 4-6 inch pot with at least one drainage hole at the base. Fill pots with a good-quality container potting mix - never use soil dug from the garden, which compacts in pots and drains poorly. Leave about half an inch of space between the soil surface and the rim of the pot to make watering easier. Place a saucer underneath each pot to catch runoff and protect your windowsill.
Plant seeds or transplant seedlings
If starting from seeds, sow two or three seeds per pot at the depth recommended on the packet - typically two to three times the seed's diameter. Once seedlings emerge and reach about two inches tall, thin them to the single strongest plant by snipping extras at soil level (don't pull, which disturbs roots). If using seedlings, gently loosen the root ball, place it at the same depth it was growing in its original container, and firm the soil lightly around it. Water immediately after planting.
Water correctly
The most common mistake new herb growers make is overwatering. Check the soil before each watering by pressing a finger about an inch into the mix. If it feels damp, wait. If it feels dry, water thoroughly until you see it draining from the bottom holes. Empty the saucer after 30 minutes so roots don't sit in standing water. Basil prefers consistently moist (not wet) soil; parsley and chives tolerate slightly drier conditions between waterings.
Harvest regularly to encourage growth
Begin harvesting once plants have at least six to eight leaves or stems to spare. For basil, pinch off the top two sets of leaves and any flower buds as soon as they appear - this keeps the plant producing rather than going to seed. For parsley and chives, snip stems from the outside of the plant, leaving inner growth intact. Little and often is the right rhythm: regular harvesting signals the plant to keep producing rather than slowing down.
Rotate Your Pots Weekly
Plants naturally lean toward their light source. Giving each pot a quarter turn once a week encourages even, upright growth and prevents lopsided plants that eventually topple. It takes seconds and makes a noticeable difference over a few weeks.
Watch for Cold Drafts in Winter
Windowsills can turn cold quickly in winter, especially around single-pane glass. Basil in particular is highly sensitive to temperatures below 50°F (10°C) and will blacken and wilt rapidly if exposed to cold drafts. Move pots a few inches back from the glass on cold nights or place a folded cloth between the pot and the cold pane.
Drainage Holes Are Non-Negotiable
Never plant herbs in a container without drainage holes, regardless of how decorative it looks. Without drainage, water accumulates at the roots, creates anaerobic conditions, and causes root rot within days to weeks. If you love a particular container that has no holes, use it as a decorative outer sleeve and place a correctly drained pot inside it.
Keeping Your Herbs Healthy Long-Term
Once your herbs are established, the main tasks are watering, harvesting, and watching for early signs of trouble. Yellow leaves often indicate overwatering or nutrient depletion; leggy, pale growth usually means insufficient light. After six to eight weeks of regular watering, nutrients in the potting mix begin to deplete - a half-strength liquid fertilizer applied every two to three weeks during the growing season helps maintain productivity without overwhelming the plant.
Most herbs last one to two growing seasons in a pot before they become woody or bolt (go to seed). Treat each pot as a cycle rather than a permanent fixture: when one plant declines, start fresh. The garden readiness checklist is also a useful reference if you decide to move any herbs outdoors seasonally.