

Key Takeaways
Why Weatherstripping Is Worth Your Weekend
If you can feel a chill near a closed door or window on a cold day, air is moving through gaps you can't always see. Over time, the rubber, foam, or vinyl strips that seal those gaps compress, crack, or peel away - and the result is a home that works harder to stay comfortable. Replacing weatherstripping is one of the most straightforward repairs a beginner can tackle, and it requires almost no prior experience.
This project fits neatly into a checklist of basic home maintenance tasks. If you're building a habit of seasonal upkeep, it pairs well with other beginner-friendly jobs covered in our room-by-room home maintenance checklist.
What you will need
Choosing the Right Type of Weatherstripping
Not all weatherstripping is interchangeable. The right type depends on where the gap is and how much friction or compression that surface experiences. Here's a quick breakdown of the most common options:
- Foam tape (open-cell or closed-cell): The most beginner-friendly option. Self-adhesive, inexpensive, and ideal for window sashes and the top or sides of door frames where compression is light. Closed-cell foam lasts longer and resists moisture better.
- V-strip (tension seal): A folded plastic or metal strip that springs open to fill a gap. Works well on the sides of double-hung windows and along the edges of doors. More durable than foam.
- Door sweeps: Mounted to the bottom of a door to seal the gap at the threshold. Available in adhesive and screw-mount versions; screw-mount versions hold up significantly better over time.
- Bulb or tubular gasket: A hollow rubber or vinyl tube that compresses when the door or window closes. Often used around door stops and is among the more durable options for frequently used exterior doors.
Tape measure
Measure the length of each side of the door or window frame so you buy enough weatherstripping.
Scissors or utility knife
Cut weatherstripping to the exact length needed for each section of frame.
Rubbing alcohol and clean rags
Clean the frame surface so adhesive weatherstripping bonds properly and lasts.
Screwdriver (flathead or Phillips)
Required if installing a screw-mount door sweep or removing an old metal strip.
Putty knife or plastic scraper
Remove old, dried, or painted-over weatherstripping from the frame surface.
Before buying anything, check what type is already installed and assess the condition of the frame surface. If the frame is painted over old weatherstripping, you'll need to scrape and clean it before applying a new strip.
Check the Frame Before You Buy
If the door frame itself is warped or the door doesn't sit squarely in its opening, weatherstripping alone won't solve the problem. Close the door and check the gap with a consistent light source behind it. A uniform gap around the frame means weatherstripping will work well. An uneven or very wide gap on one side may point to a hinge or frame alignment issue worth addressing first.
Step-by-Step: How to Install Weatherstripping
Work through one door or window at a time to keep the project manageable. If you're new to home repairs and haven't built out your supplies yet, our guide on what every beginner needs in their toolbox covers the basics you'll want on hand.
Remove old weatherstripping completely
Pull away any existing weatherstripping by hand, working slowly to avoid damaging the frame. Use a plastic scraper or putty knife to lift stubborn sections. If adhesive residue remains, soften it with a small amount of rubbing alcohol and wipe clean. Do not apply new weatherstripping over old material - the bond will fail quickly.
Measure and cut each section
Measure each side of the frame separately - do not assume opposite sides are identical. Cut your weatherstripping to length with scissors or a utility knife. For corners, cut at a 45-degree angle where two strips meet to create a tighter seal and a neater appearance. Lay the cut pieces against the frame before peeling any backing to confirm the fit.
Clean and dry the frame surface
Wipe the entire application surface with a rag dampened with rubbing alcohol. This removes dust, paint residue, and oils that prevent adhesive from bonding. Allow the surface to dry completely - at least five minutes - before applying anything. Skipping this step is the most common reason weatherstripping peels off within weeks.
Apply the weatherstripping
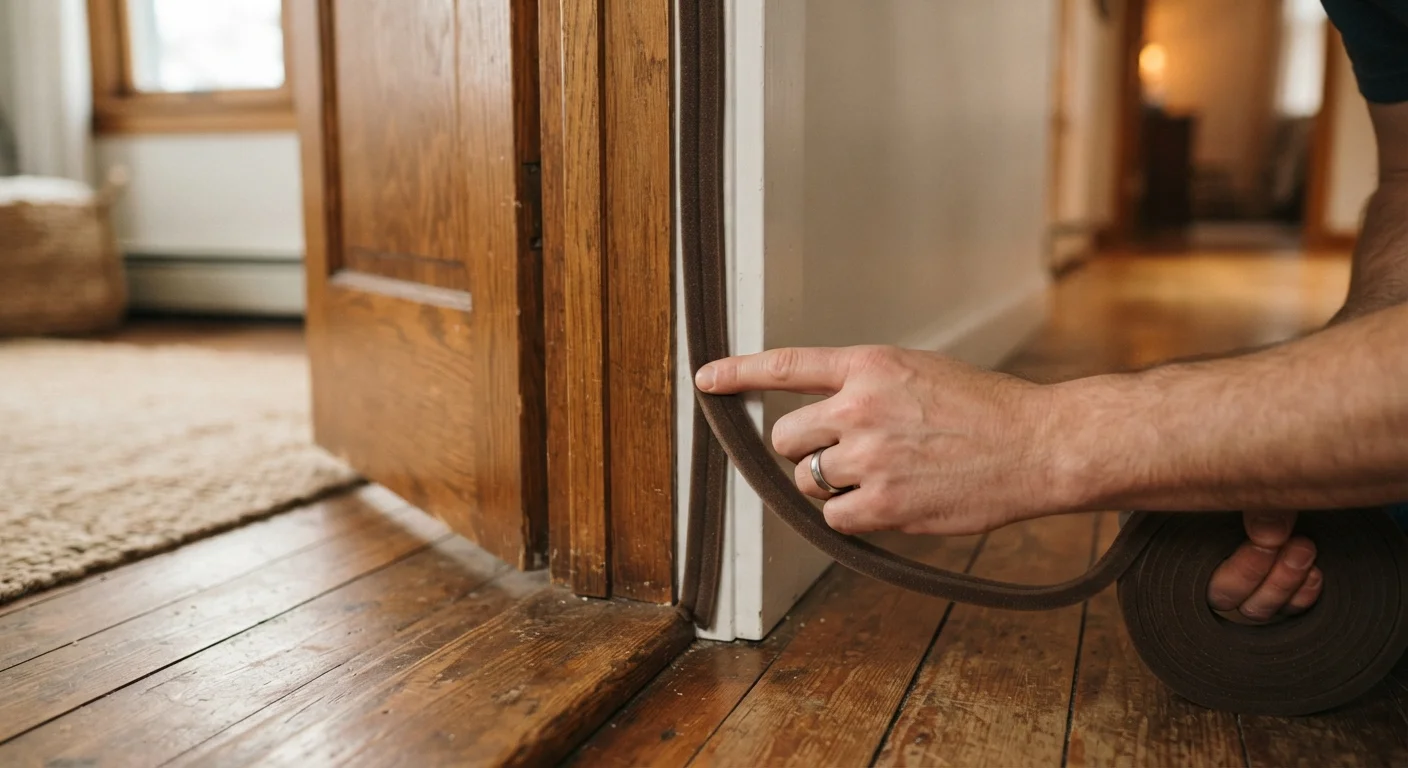
For adhesive types: peel back a few inches of the backing, align the strip at one end of the frame, and press firmly as you work along the surface - peeling the backing gradually rather than all at once. Press the full length firmly with your thumb or a clean cloth. For V-strip: fold open the strip slightly and use a hammer or roller to seat it fully into the channel. For screw-mount door sweeps: position the sweep so it just grazes the threshold when the door closes, mark the screw holes, drill pilot holes if needed, and drive the screws snugly.
Test the seal
Close the door or window and run your hand slowly around the perimeter. You should feel no airflow. For a more precise check, repeat the candle or tissue test from your initial inspection. If a gap remains in one area, press the strip more firmly or add a second layer of foam tape behind it to increase compression. If the door no longer closes smoothly, the strip may be too thick for that location - switch to a thinner profile.
Don't Seal Combustion Appliance Areas Too Tightly
If your home has a gas furnace, water heater, or wood-burning fireplace, be cautious about creating an extremely airtight envelope without ensuring adequate ventilation. These appliances need air for safe combustion. Weatherstripping doors and windows is generally fine, but if you're making extensive air-sealing improvements throughout your home, consult a qualified HVAC professional to confirm ventilation remains adequate.