

Key Takeaways
Squeaky Floor
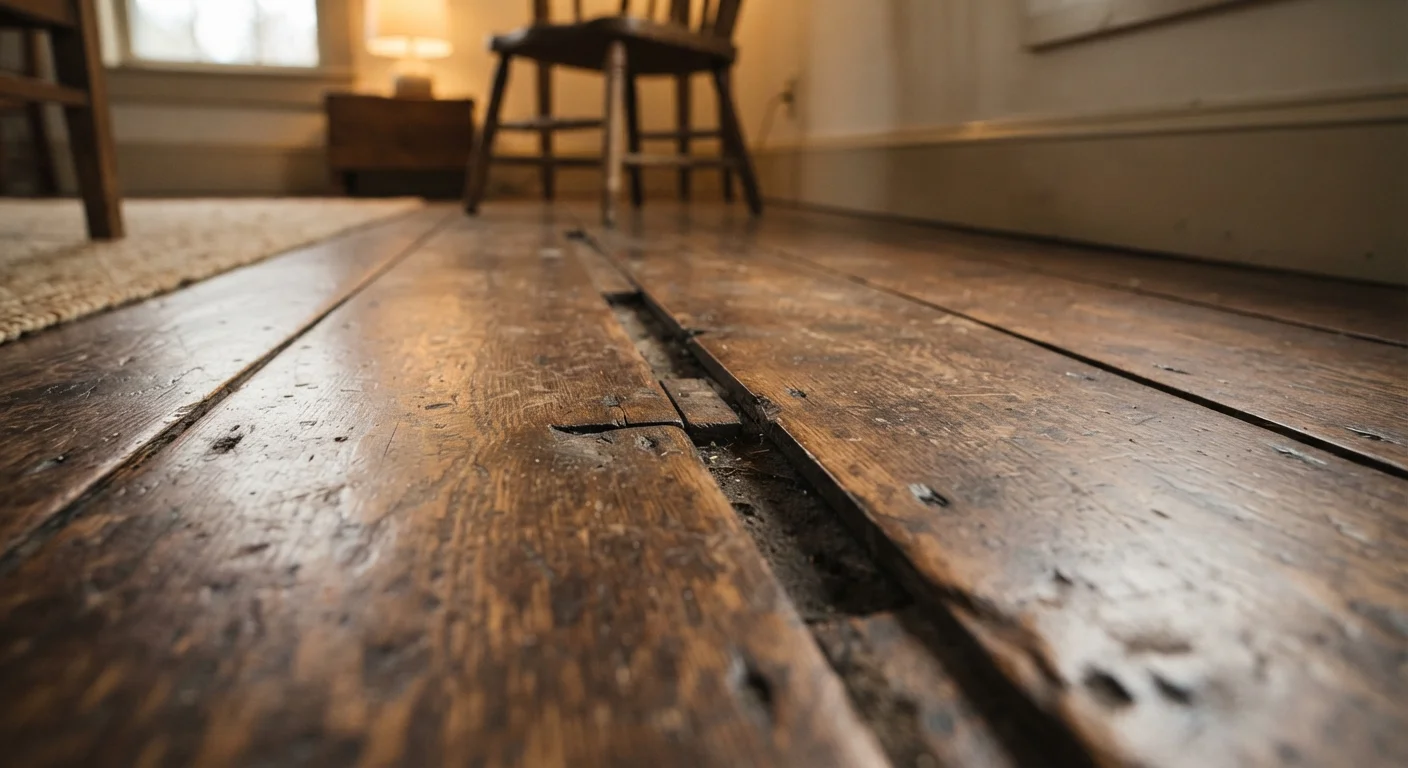
A squeaky floor is one that produces a creaking or rubbing noise when walked on. The sound occurs when two materials - such as a floorboard and the subfloor beneath it - rub against each other due to movement. This friction is usually caused by loose fasteners, gaps that developed over time, or seasonal wood expansion and contraction.
In flooring terminology, the subfloor is the structural layer beneath your finished floor surface (hardwood, laminate, carpet, etc.). Most squeaks originate at the junction between these two layers.
Why Floors Squeak: The Mechanics Behind the Noise
That familiar creak underfoot isn't mysterious - it's physics. Floors squeak when two surfaces rub against each other as weight is applied and released. Most commonly, this happens between:
- Floorboards and the subfloor - when the finished floor layer shifts slightly with each step
- The subfloor and floor joists - the structural beams running beneath your floor
- Adjacent floorboards - rubbing edge-to-edge when nails or adhesive have loosened
The original fasteners - nails or screws - hold everything tight when a floor is new. Over time, normal foot traffic, temperature swings, and humidity changes cause wood to expand and contract repeatedly. This gradually works fasteners loose, creating tiny gaps. When you step on that spot, the board flexes, makes contact, and produces the squeak.
Humidity and Wood Movement
Wood flooring is particularly sensitive to humidity. In most U.S. homes, indoor relative humidity ideally stays between 35% and 55% year-round to minimize wood movement. Significant fluctuations outside this range accelerate the loosening process that leads to squeaks.
Wood flooring is particularly sensitive to humidity. In most U.S. homes, indoor relative humidity ideally stays between 35% and 55% year-round to minimize wood movement. Significant fluctuations outside this range accelerate the loosening process.
Diagnosing Where the Squeak Is Coming From
Before reaching for any tool, spend a few minutes identifying the squeak precisely. Walk the area slowly and mark squeaky spots with a small piece of painter's tape. Then ask yourself two questions:
- Is the squeak localized to one or two boards, or widespread? A single noisy board usually means one loose fastener. Widespread squeaking suggests the subfloor may have separated from the joists across a larger area.
- Do you have access from below? A basement or crawl space below the squeaky area opens up the most effective repair options.
Have a helper walk the floor above while you watch from below - you can often see or feel the slight movement at the problem spot, which makes targeting your fix much easier.
Use Painter's Tape to Map the Squeak
Before you start any repair, walk the squeaky area slowly and place small pieces of painter's tape exactly where you hear each noise. This gives you a precise map to work from and prevents you from driving screws into the wrong spots. Painter's tape peels off cleanly without damaging your floor finish.
Fixes You Can Try: From Simplest to More Involved
Start with the least invasive approach and work up only if needed.
Lubrication (No Tools Required)
If the squeak is between two floorboards that are rubbing at the seam, a dry lubricant can help immediately. Sprinkle powdered graphite (sold as a lock lubricant) or plain talcum powder along the joint, then work it into the gap by placing a cloth over the area and stepping on it repeatedly. This reduces friction without damaging the floor surface.
Re-Securing From Above
For a board that's pulling away from the subfloor, a trim-head screw driven at a slight angle through the surface can pull the layers back together. Countersink the screw head slightly, then fill the hole with a wood filler that matches your floor color. This method works on hardwood and engineered wood floors.
Fixing From Below
This is often the most effective approach. With a helper identifying the squeak from above, locate the gap between the subfloor and the joist from beneath. Drive a short wood screw up through the joist into the subfloor - being careful to choose a screw length that won't penetrate through the finished floor. This pulls the layers snug without touching the surface at all.
35-55%
Ideal indoor relative humidity for wood floors
The National Wood Flooring Association recommends maintaining indoor humidity within this range to minimize wood expansion and contraction.
48-72 hrs
Recommended acclimation time for new flooring
Most flooring manufacturers advise allowing new wood products to acclimate to the installation environment before laying them to reduce post-install movement.
When to Stop and Call a Professional
If your floor bounces noticeably, if you see water damage or rot, or if fixing one squeak seems to reveal several more in the same area, those are signs the subfloor or joists may need structural attention. A licensed contractor or flooring professional can assess whether the issue goes beyond surface-level repairs. Just like unusual noises in other parts of the home - similar to how brake squealing signals something worth investigating - persistent floor noise that suddenly changes in character deserves a closer look.
Preventing Squeaks Before They Start
If you're installing new flooring or replacing a subfloor section, a few precautions can prevent squeaks from developing in the first place:
- Use construction adhesive between the subfloor and joists in addition to fasteners - adhesive dramatically reduces movement
- Choose ring-shank nails or coarse-thread screws over smooth nails, which back out more easily over time
- Allow new flooring materials to acclimate to your home's temperature and humidity for at least 48-72 hours before installation
- Maintain consistent indoor humidity year-round to reduce the degree of seasonal wood movement
Squeaky floors are one of the most common - and most fixable - household annoyances. With a clear diagnosis and the right approach for your floor type, most homeowners can quiet things down without specialized skills or expensive professional help.