

Key Takeaways
Why Prep Work Is Actually the Whole Job
Every painting guide tells you to prep your walls - but few explain what happens when you skip it. Paint doesn't hide imperfections; it highlights them. Nail holes, small cracks, and dusty surfaces all show through dried paint, often more dramatically than you'd expect.
Start by washing walls with a damp sponge to remove grease and dust, especially in kitchens and hallways. Fill any holes or dents with lightweight spackle, let it dry fully, then sand it flush with 120-grit sandpaper. Wipe away all sanding dust before you open a can of paint.
Priming is the step beginners most commonly skip. If you're painting over a dark color, a stained wall, or fresh spackle patches, primer creates an even base and dramatically improves how the topcoat adheres. Skipping primer on patched areas often results in dull, flat spots - called flashing - that are visible even after two coats of color.
Test Your Color Before Committing
Paint a large swatch - at least 12 inches square - directly on the wall and observe it at different times of day before buying multiple cans. Artificial light at night and natural light in the morning can make the same color look dramatically different. Many paint suppliers offer small sample sizes specifically for this purpose.
Cut-In First, Roll Second - Every Time
"Cutting in" means using an angled brush to paint a two- to three-inch band along edges - around trim, ceilings, corners, and outlet covers - before you bring a roller near the wall. Most beginners either skip this step or do it after rolling, both of which create visible brushstroke borders.
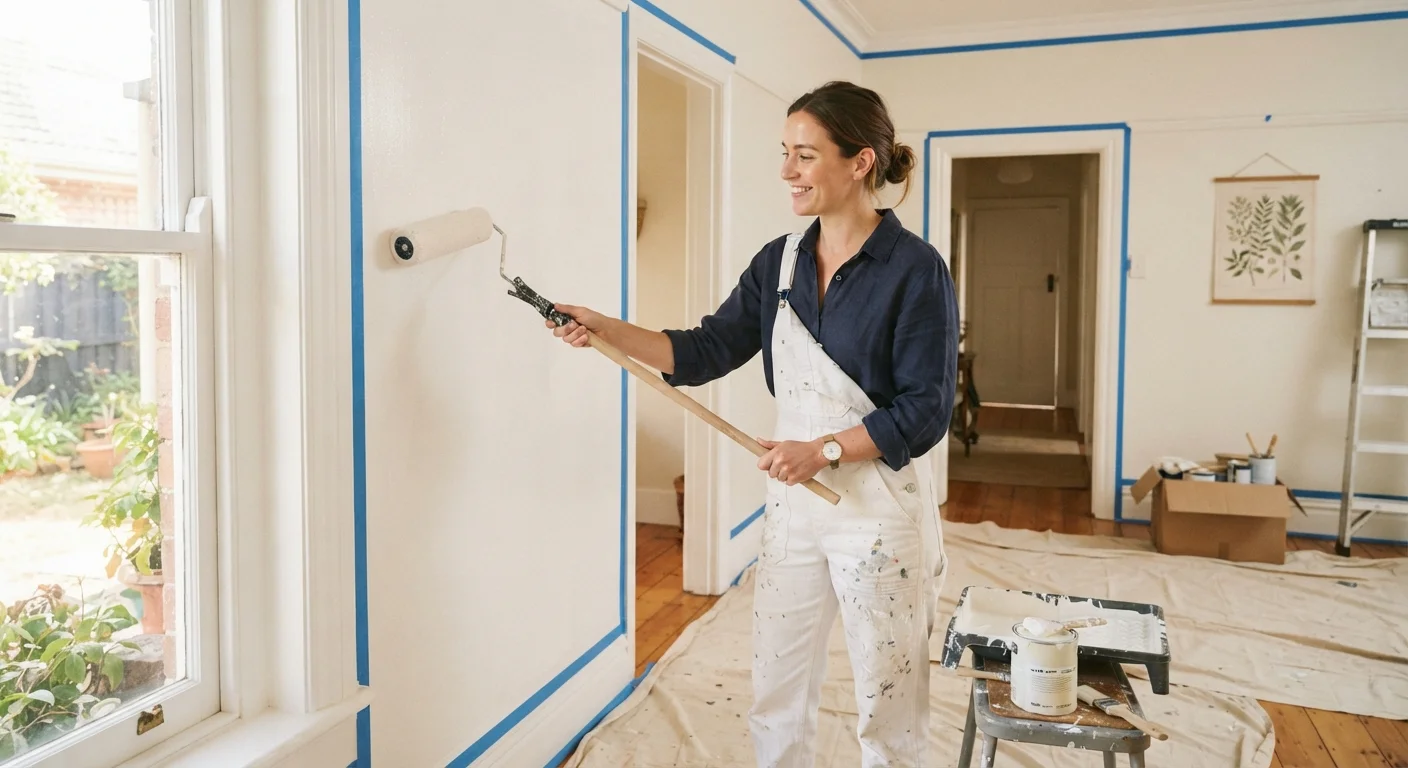
Apply painter's tape carefully along trim and ceilings. Press the tape edge down firmly with a putty knife or your fingernail to prevent paint bleeding underneath. Cut in one full wall at a time, then immediately roll that wall while the cut-in edge is still slightly wet. This wet-edge technique blends the brush marks into the rolled surface, leaving a seamless result.
Keep your cutting-in brush loaded with a modest amount of paint - too much causes drips, too little means you'll drag and streak. A steady hand matters more than speed. Take your time on the first wall; you'll develop a rhythm quickly. For a full list of starter tools that make this process easier, see our beginner toolbox guide.
Drying Times and Coat Strategy
Paint cans list a "recoat time" - but that's the minimum under ideal conditions. High humidity, low temperatures, or thick application all extend drying time. Rushing a second coat over paint that hasn't fully cured can cause peeling, streaking, or the dreaded lifted-paint effect where your roller pulls up the layer below.
As a reliable rule: wait at least two to four hours between coats for latex paint in a ventilated room at normal room temperature. Touch-dry doesn't mean recoat-ready. If the wall still feels slightly cool or tacky, give it more time.
Oil-Based vs. Latex Paint: Know the Difference
Most interior walls today are painted with water-based (latex) paint, which dries faster, cleans up with water, and has lower odor. Oil-based paint is still used on some trim and cabinetry for its durability and smooth finish, but requires mineral spirits for cleanup and much longer drying times. If you're unsure what's already on your walls, check by rubbing a small area with rubbing alcohol - latex paint will come off on the cloth; oil-based won't.
Two thin coats consistently outperform one heavy coat. A thick application sags, dries unevenly, and takes far longer to cure throughout. Apply each coat with smooth, overlapping roller strokes in a "W" or "M" pattern to distribute paint evenly without creating lines.
For more context on common mistakes that cost beginners time, the home repair myths article is worth reading before you start any room project.
The Small Details That Make a Big Difference
Remove outlet covers and light switch plates before painting - taping around them takes longer and never looks as clean. Store them in a zip-lock bag so the screws don't wander. When you're done, wait until paint is fully dry before reattaching.
Don't paint yourself into a literal corner by starting near the door. Begin on the wall opposite the room's main light source so you can see sheen variations and missed spots as you work. Finish by painting the wall that contains the door last, so you always have an exit.
Peel painter's tape off at a 45-degree angle while the paint is still slightly tacky - not bone dry. Dry tape can pull chunks of paint with it. If you've left tape on too long, score lightly along the tape edge with a utility knife before peeling.
Once you've finished one room, you'll find the skills transfer directly to every other room in the house. Pairing this with a broader home maintenance checklist can help you build real momentum on home upkeep without feeling overwhelmed.