

Key Takeaways
Why Caulk Fails in the First Place
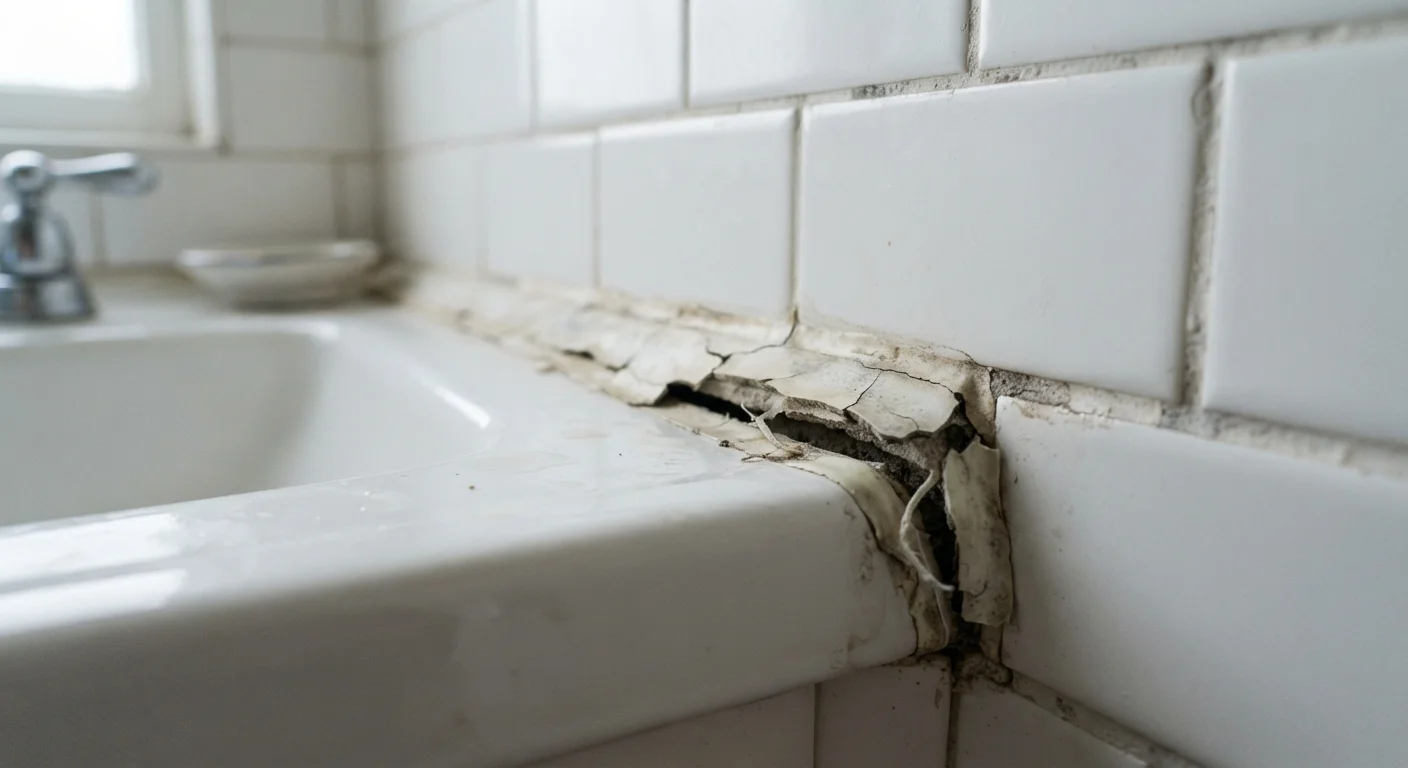
Caulk does a simple but critical job: it seals the gaps between surfaces that expand, contract, and get wet every single day. When it fails - cracking, peeling, or going moldy - it's rarely because of a defective product. In almost every case, the cause is something that happened during application, or in the years of wear that followed.
The joint between a bathtub and the tile wall, for example, flexes slightly every time the tub fills with water and your weight shifts inside it. Standard caulk tolerates this movement for a few years, then eventually cracks. Kitchens and bathrooms also cycle through steam, splashes, and humidity that gradually degrade the bond. Understanding this helps you see why preparation and product choice matter so much the second time around.
Never Caulk Over Mold Without Treating First
Applying fresh caulk over mold doesn't seal the problem - it traps it. Mold will continue growing beneath the surface and degrade your new caulk from below. Always treat visible mold with an appropriate bathroom cleaner and allow the surface to dry completely before recaulking. If mold penetrates grout or substrate, consult a professional.
Common Mistakes That Cause Recaulking to Fail Again
Most homeowners recaulk a problem area only to watch it fail again within months. The culprit is almost always one of a handful of avoidable mistakes - not the caulk itself. Work through these carefully before you open a new tube.
Applying new caulk directly over the old, failed caulk without removing it first.
Why it happens: It feels like the faster option, and the new caulk temporarily hides the problem. Most beginners don't realize the old layer prevents a clean bond.
Caulking a wet or damp surface, especially around sinks and tubs.
Why it happens: People often recaulk while the bathroom is still in use, or wipe the area down and immediately start applying. Visible dampness is obvious, but surface moisture can linger for hours.
Choosing the wrong type of caulk for a wet or high-movement area.
Why it happens: All caulk tubes look similar on the shelf, and many beginners grab whatever is closest or cheapest without checking the label.
Cutting the caulk tube tip too wide, creating an oversized, sloppy bead.
Why it happens: The instinct is to cut generously to speed up the job. A wide bead looks like more coverage, but it's actually harder to control and tool properly.
Skipping the smoothing step after laying the bead.
Why it happens: The caulk looks roughly in place, so it seems done. Beginners often don't know that an unsmoothed bead leaves air pockets and weak adhesion at the edges.
If you're also tackling tile repairs nearby, our guide to common tiling mistakes covers similar prep and technique principles that apply directly to grouted surfaces adjacent to your caulk line.
Getting a Lasting Result: The Right Process
Once you've avoided the common errors above, the actual application is straightforward. Gather a plastic scraper, rubbing alcohol, a caulk gun, the correct caulk for your surface, and a small bowl of water for smoothing.
~5 years
Typical lifespan of bathroom caulk
General guidance from home improvement experts suggests bathroom caulk should be inspected and replaced approximately every three to five years depending on use and product quality.
90%
Of caulk failures tied to prep errors
Professional tradespeople commonly attribute the vast majority of recaulking failures to inadequate surface preparation rather than product defects.
- Remove all old caulk - scrape thoroughly, then clean with alcohol and allow to dry completely.
- Tape the joint - run painter's tape along both sides of the gap to keep lines clean. Remove it while the bead is still wet.
- Cut and load - trim the tube tip small, puncture the inner seal, and load into the caulk gun.
- Apply in one pass - move steadily without stopping; starting and stopping creates weak joints.
- Tool immediately - smooth with a wet finger in one continuous motion, then remove the tape.
- Allow full cure time - keep the area dry for at least 24 hours, or as directed on the product label.
Don't Skip the Cure Window
Most silicone caulks require 24 hours to cure before exposure to water - some need up to 48 hours. Running a sink or shower too soon will wash away the uncured bead before it bonds. Check the manufacturer's instructions on the packaging and resist the urge to test it early.
A properly prepared and applied caulk bead should last several years in normal household use. Inspect it annually - catching a hairline crack early means a much simpler repair than dealing with water damage behind tiles or inside walls.